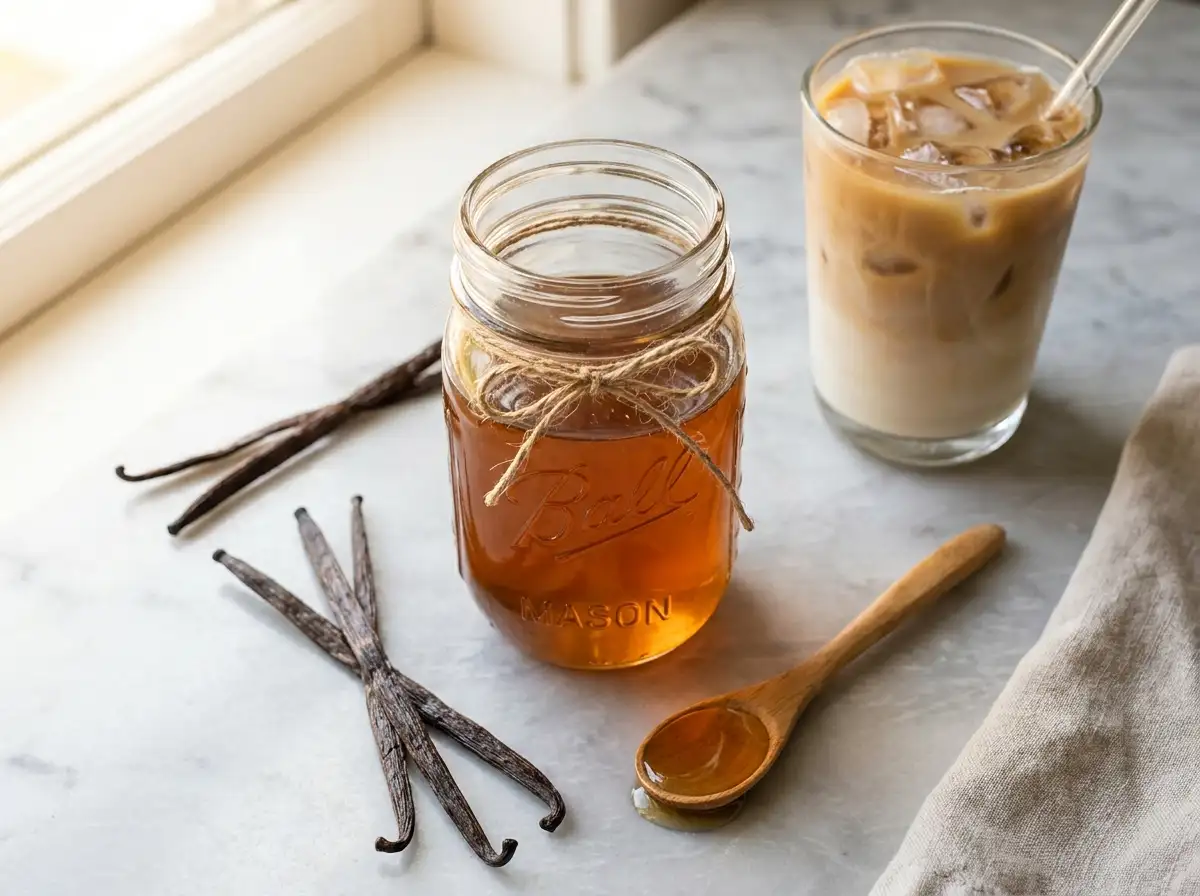
Vanilla Syrup for Coffee: Your New Secret Weapon
You know that smug feeling when you walk past a café, knowing you’ve got something better waiting at home? Yeah, that’s about to be you. Homemade vanilla syrup for coffee is one of those ridiculously simple recipes that makes you look like you actually have your life together — even when you absolutely don’t. It takes maybe 10 minutes, costs next to nothing, and tastes a thousand times better than the mystery goop they pump into your overpriced latte. Let’s do this.
Quick Look at the Recipe
| 🎯 Skill Level | ⏱️ Prep Time | 🍳 Cook Time | ⏰ Total Time |
|---|---|---|---|
| Absolute Beginner | 2 minutes | 5–8 minutes | 10 minutes |
| 🍽️ Servings | 📂 Course | 🌍 Cuisine | 🔥 Calories |
|---|---|---|---|
| ~24 (1 tbsp each) | Condiment / Syrup | American | ~48 per tbsp |
Why This Recipe is Awesome
First of all, there are only three ingredients. Three. If you can count to three, you can make this syrup — no culinary degree required. It’s idiot-proof, and yes, even I didn’t mess it up on the first try, which is honestly saying a lot.
Beyond the sheer simplicity, here’s why this little syrup is genuinely awesome:
- It elevates literally any coffee drink — iced coffee, lattes, cold brew, you name it.
- You control the sweetness. No more “why is this café drink sweeter than a birthday cake” moments.
- It stores beautifully for weeks, meaning you make it once and feel productive for an entire month.
- IMO, there’s something deeply satisfying about pouring syrup you made yourself into your morning coffee. It’s self-care, but make it caffeinated.
Ingredients You’ll Need
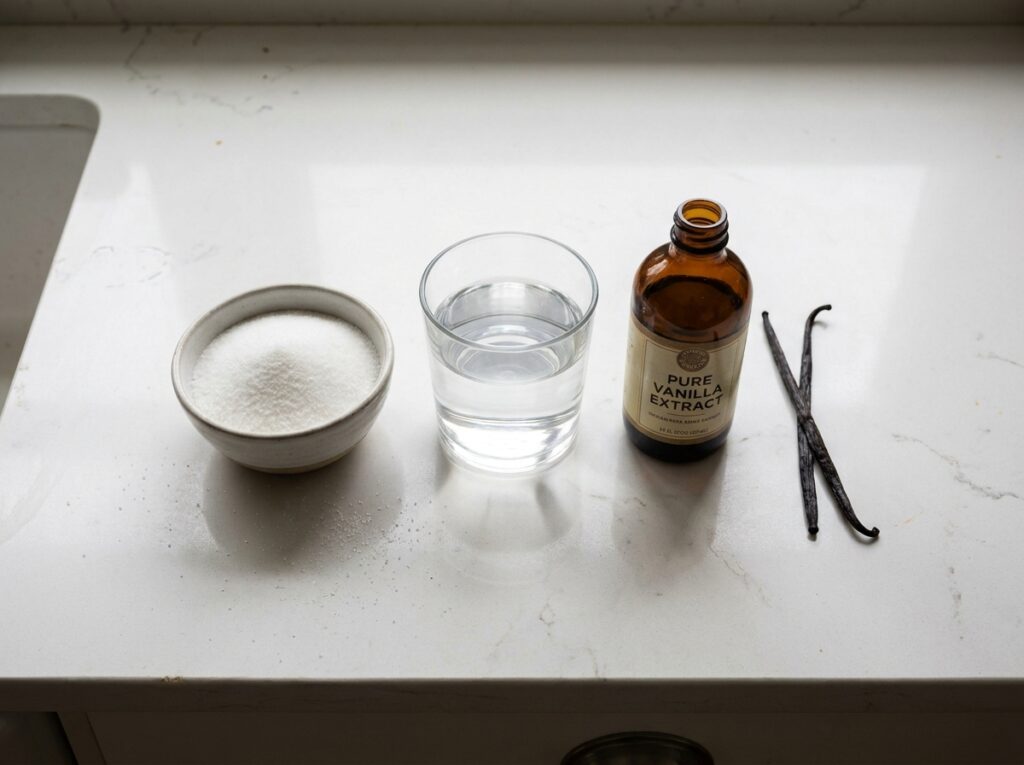
Simple, cheap, and already probably in your kitchen. Here’s what you need:
- ☐ 1 cup granulated white sugar — the regular kind, nothing fancy
- ☐ 1 cup water — filtered is great, tap is fine, we’re not making perfume
- ☐ 2 teaspoons pure vanilla extract — pure, not imitation; this is where flavor lives, don’t cheap out here
- ☐ (Optional) 1 vanilla bean, split — if you’re feeling extra and want those gorgeous little specks
That’s genuinely it. If your grocery list is longer than this, you’re overcomplicating something else entirely.
Recommended Tools
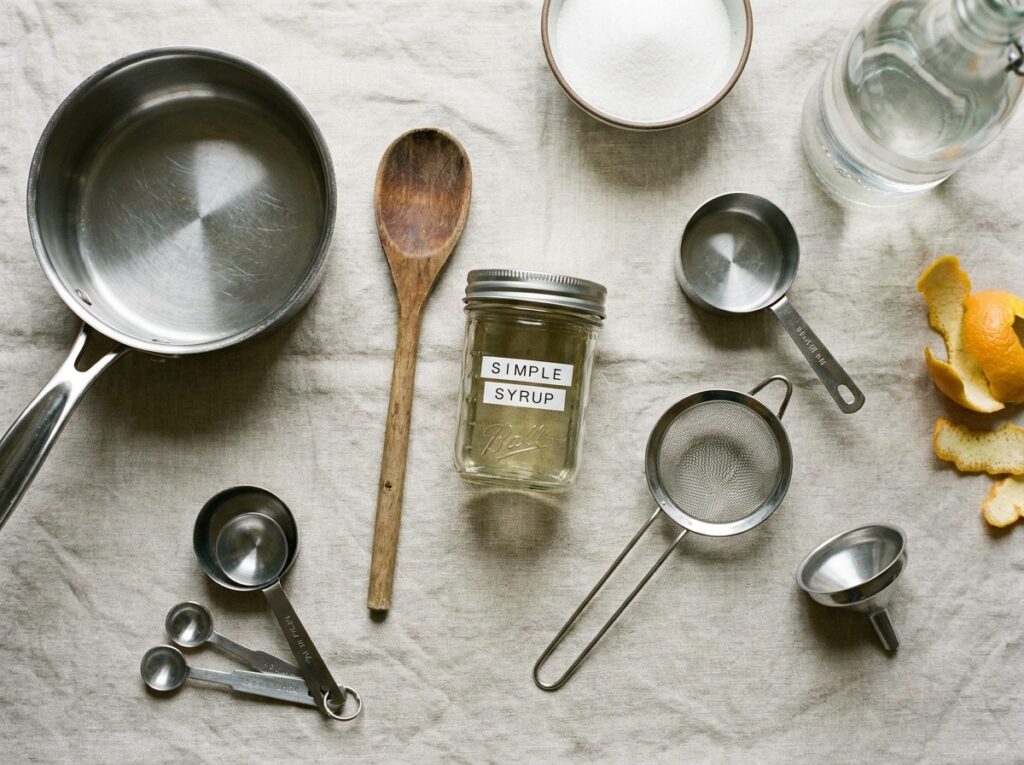
You don’t need a professional kitchen setup. Just grab these:
- Small saucepan — medium-sized works too, but small keeps it cozy
- Wooden spoon or silicone spatula — for stirring without scratching your pan
- Measuring cups and spoons — eyeballing sugar is a gamble you don’t want to take
- Fine mesh strainer — especially if you’re using a vanilla bean; keeps it smooth
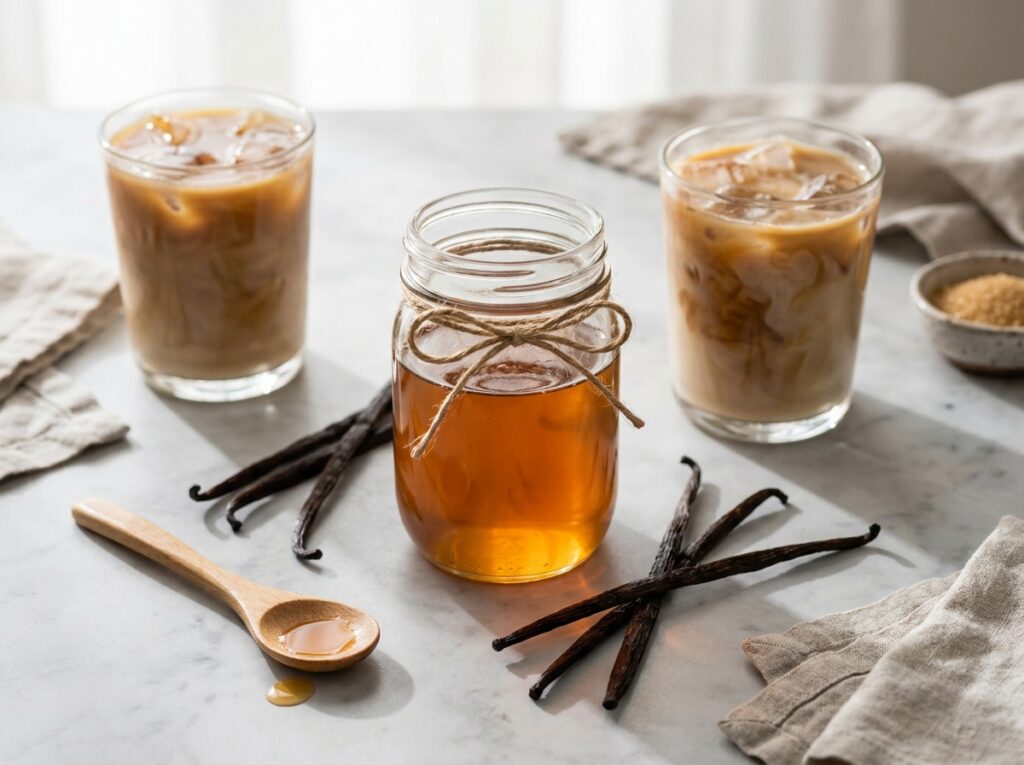
- Glass jar or bottle with a lid — for storing (a mason jar works perfectly and looks cute, FYI)
- Funnel (optional) — helpful for pouring into narrow bottles without creating a sticky disaster
Step-by-Step Instructions
Step 1: Combine sugar and water. Add 1 cup of sugar and 1 cup of water to your small saucepan. No need to heat anything yet — just get them in the pan together and give it a quick stir. If you’re using a vanilla bean, scrape the seeds out and toss both the seeds and pod into the pan now.
Step 2: Heat over medium heat. Place the pan on the stove over medium heat. Stir occasionally as it heats up. You’re waiting for the sugar to fully dissolve into the water — this usually takes about 3–5 minutes. Don’t crank the heat up to rush it; patience here means a clearer, smoother syrup.
Step 3: Let it simmer gently. Once the mixture is hot and the sugar is dissolved, let it come to a gentle simmer. Keep it going for about 2–3 minutes. You’ll notice it thickening slightly. Don’t let it boil aggressively — you want simple syrup, not toffee.
Step 4: Remove from heat and add vanilla. Take the pan off the heat and stir in your 2 teaspoons of pure vanilla extract. The warm syrup will absorb that vanilla flavour instantly and beautifully. If you used a vanilla bean pod, fish it out now (or strain the whole thing through your fine mesh strainer).
Step 5: Cool and bottle. Let the syrup cool for 10–15 minutes before pouring it into your jar or bottle. Once it’s room temperature, seal it up and pop it in the fridge. Done. You just made vanilla syrup. Go ahead and feel smug about it.
Nutrition Facts
Vanilla Simple Syrup Serving Size: 1 tablespoon (approx. 20ml) Servings Per Recipe: ~24
| Amount Per Serving | |
|---|---|
| Calories | 48 |
| Total Fat | 0g |
| — Saturated Fat | 0g |
| — Trans Fat | 0g |
| Cholesterol | 0mg |
| Sodium | 1mg |
| Total Carbohydrate | 12g |
| — Dietary Fiber | 0g |
| — Total Sugars | 12g |
| Protein | 0g |
| Calcium | 0mg |
| Iron | 0mg |
*Percent Daily Values based on a 2,000 calorie diet.
Recipe Variations
- Brown Sugar Vanilla Syrup — Swap white sugar for brown sugar to get a richer, caramel-like depth of flavour. Works incredibly well in iced coffee and cold brew.
- Vanilla Lavender Syrup — Add 1 tablespoon of dried culinary lavender to the saucepan while it simmers, then strain it out. Floral, fancy, and honestly a bit extra — in the best way.
- Sugar-Free Vanilla Syrup — Replace sugar with an equal amount of erythritol or monk fruit sweetener. The result is slightly less thick, but still delicious and guilt-free.
Explore Similar Recipes
- 7 Brew Coffee Drinks: The Copycat Recipes Your Wallet Will Thank You For

- Irish Coffee: The Boozy Warm Hug You Didn’t Know You Needed

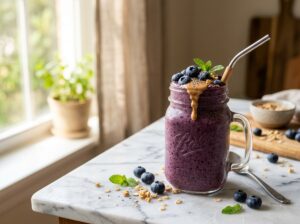
- Blueberry Protein Smoothie: Your New Morning BFF
- Black Coffee: The Original No-BS Brew

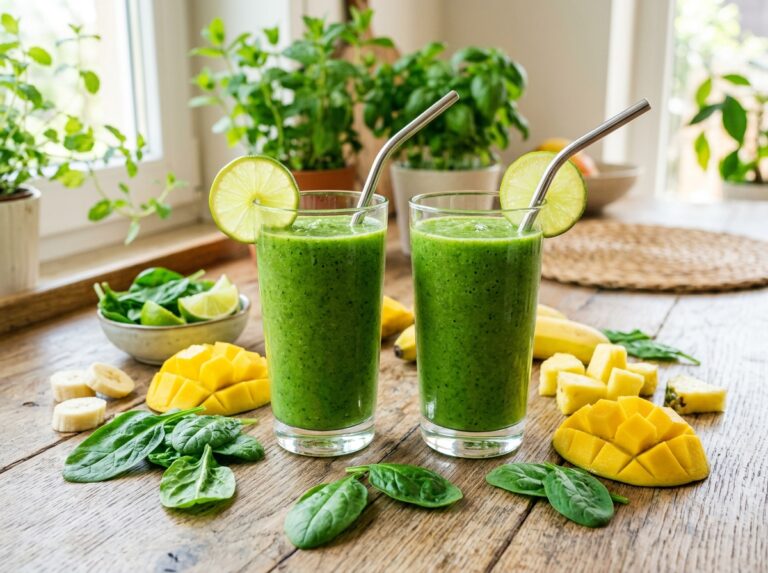
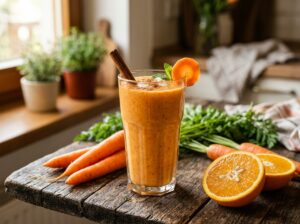
- 🥕 Carrot Smoothie: The Drink That Makes You Feel Like a Wellness Guru (Without the Effort)
- Breakfast Smoothie Bowl: The Morning Glow-Up Your Spoon Deserves
Recommended Ways to Serve
- In iced lattes or cold brew — Start with 1–2 tablespoons per drink and adjust to taste. It blends seamlessly into cold drinks without any graininess.
- In hot coffee or espresso drinks — Stir a tablespoon into your americano, flat white, or cappuccino right after brewing for a café-style finish at home.
- On pancakes, waffles, or oatmeal — Because why not? It’s vanilla syrup. It belongs on breakfast foods just as much as it belongs in coffee.
Storing and Reheating Guidelines
- Refrigerate in an airtight glass jar — It keeps well for up to 3–4 weeks in the fridge. Always use a clean spoon or pour directly to avoid contamination.
- Freeze for longer storage — Pour into an ice cube tray and freeze. Pop out a cube whenever you need it — each cube is roughly 1–2 tablespoons. Genius and bougie simultaneously.
- No reheating needed — The syrup pours and dissolves easily even straight from the fridge. If it thickens up a lot, just let it sit at room temp for a few minutes before using.
Common Mistakes to Avoid & Fixes
| ❌ Mistake | ✅ Fix |
|---|---|
| Boiling it too hard — congrats, you’re making candy now | Keep it at a gentle simmer; medium heat is your friend |
| Using imitation vanilla extract — your tastebuds deserve better | Splurge the extra dollar on pure vanilla extract |
| Adding vanilla while still on heat — you’ll cook off the flavour | Always remove from heat first, then add vanilla |
| Not waiting for it to cool before bottling — hello, condensation and early spoilage | Let it cool fully at room temp before sealing |
| Storing in a plastic bottle — plastic absorbs odours and flavours over time | Use a glass jar or bottle every single time |
| Making a tiny batch — running out after two days** | Double the recipe; it stores for weeks, so go big |
Alternatives & Substitutions
- No vanilla extract? Use vanilla bean paste — it’s actually richer and better, so this “substitution” is really an upgrade.
- Out of white sugar? Coconut sugar works and adds a subtle caramel flavour. Just note your syrup will be darker and slightly less sweet.
- Want less sugar? Use a 1:1 ratio of sugar to water (which this already is), or go 3/4 cup sugar to 1 cup water for a lighter syrup. It’ll be thinner but still tasty.
- No saucepan? You can microwave water until hot, then stir sugar in until dissolved, then add vanilla. Technically it works. Aesthetically, it’s chaotic. But hey, no judgment.
- Vanilla allergies or preferences? Try almond extract for a totally different but equally dreamy flavour. Use only 1 teaspoon though — almond extract is intense.
FAQ (Frequently Asked Questions)
Q. Can I use vanilla essence instead of vanilla extract? Ans: Technically, yes. But vanilla essence is usually synthetic and tastes noticeably flatter. If you’re going to the effort of making homemade syrup, use the real stuff and give yourself that small win.
Q. How do I know if my syrup has gone bad? Ans: Smell it. If it smells off, looks cloudy (beyond normal), or has anything fuzzy growing in it — toss it. Fresh syrup smells sweet and vanilla-forward. You’ll know.
Q. Can I make this syrup thicker, like a proper coffee shop syrup? Ans: Yes! Simmer it a little longer, or use a 1.5:1 sugar-to-water ratio. The more sugar, the thicker and sweeter it gets. Just keep an eye on it so it doesn’t turn into hard candy.
Q. How much should I add to my coffee? Ans: Start with 1 tablespoon per cup and taste it. Some people want a gentle hint of vanilla; others want their coffee to taste like dessert. Adjust based on your personal chaos level.
Q. Does this work in tea or other drinks? Ans: Absolutely — it’s wonderful in chai, matcha lattes, lemonade, or even cocktails. Once you make a batch, you’ll find yourself putting it in everything. Fair warning.
Q. Can I halve or double the recipe? Ans: Yes, and honestly, double it. You’re already standing at the stove — you might as well make enough to last a month. Future you will be grateful.
Q. Does it need to be refrigerated? Ans: Yes, please refrigerate it. Simple syrups with water content can grow mould if left at room temperature for more than a day or two. Glass jar, fridge, sealed tight. That’s the move.
Latest Articles
-
7 Brew Coffee Drinks: The Copycat Recipes Your Wallet Will Thank You For
-
-
-
-
🥕 Carrot Smoothie: The Drink That Makes You Feel Like a Wellness Guru (Without the Effort)
-
Breakfast Smoothie Bowl: The Morning Glow-Up Your Spoon Deserves
Final Thoughts
Look at you — you just made something from scratch that genuinely makes your coffee better every single morning. No barista, no overpriced café run, no weird ingredient list. Just sugar, water, and a little vanilla magic.
Keep a jar in the fridge, use it freely, and don’t be surprised when people ask what you did differently to your coffee. The answer, of course, is everything — because you made it yourself. Now go impress someone — or just yourself — with your new culinary skills. You’ve absolutely earned that cup.