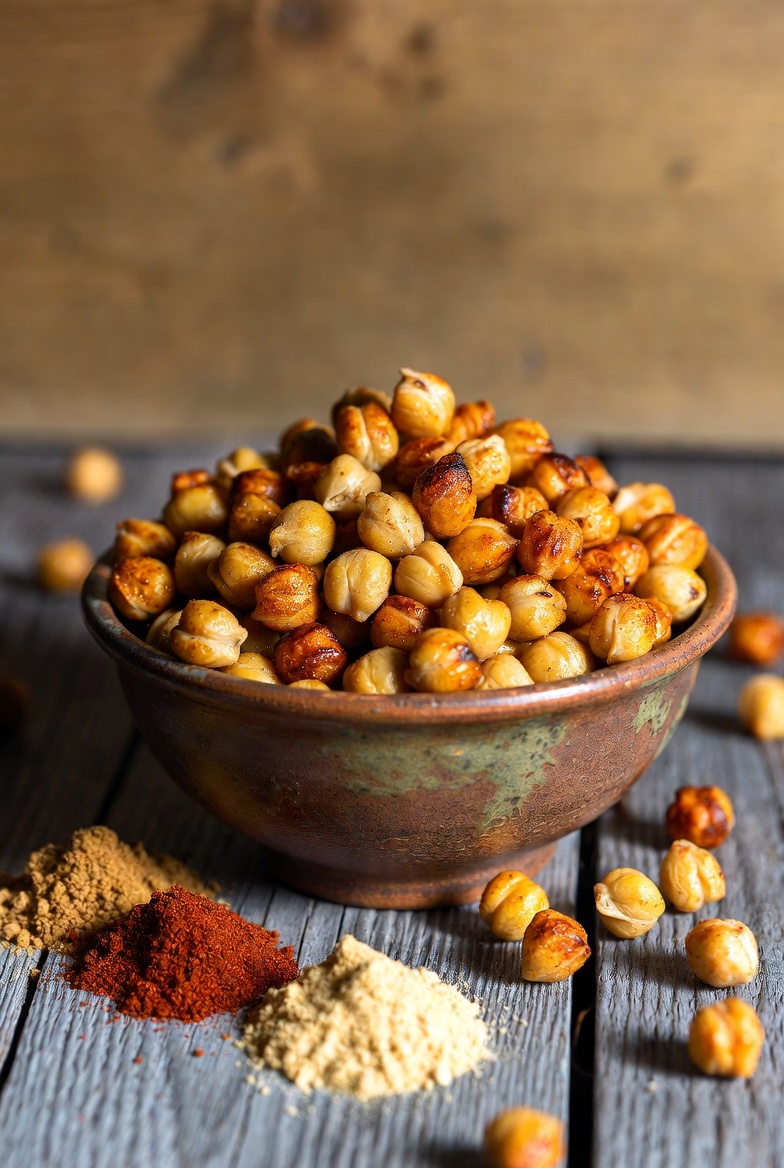
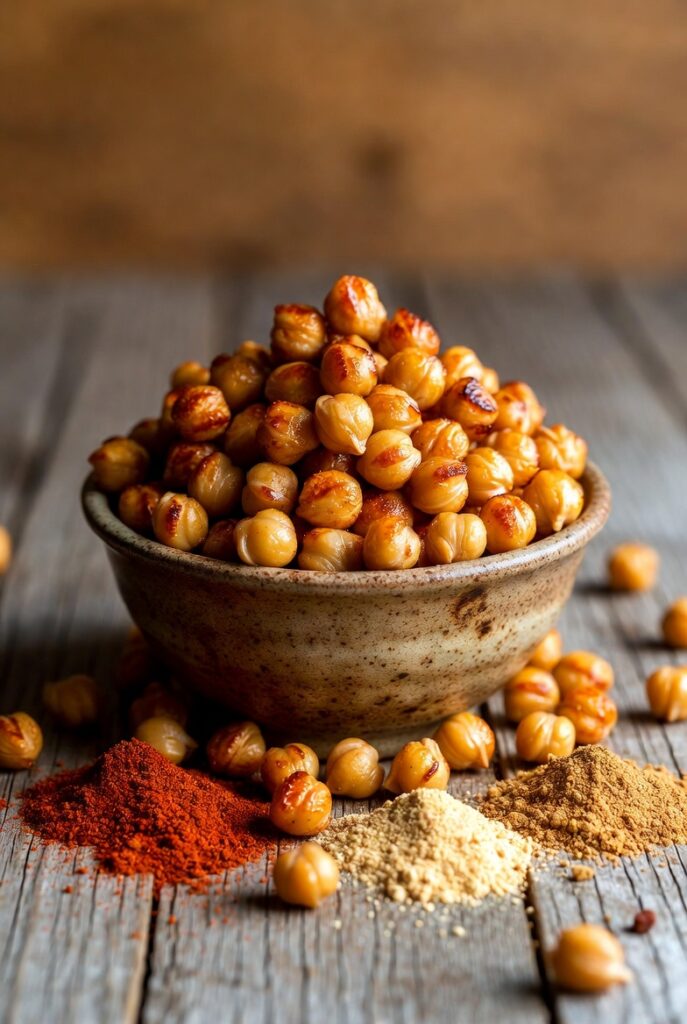
Chickpea Snacks: The Crunchy Little Bites You’ll Be Sneaking All Day
So you’re standing in front of the pantry, staring at a can of chickpeas you bought three months ago with zero plan, huh? Same energy. Well, today’s your lucky day, because those humble little legumes are about to become your new obsession. We’re talking crispy, crunchy, flavor-packed chickpea snacks that are stupidly easy to make and dangerously hard to stop eating. Grab that can. Let’s get to work.
Quick Look at the Recipe
| 🧠 Skill Level | ⏱️ Prep Time | 🔥 Cook Time | ⏰ Total Time |
|---|---|---|---|
| Easy (seriously, anyone can do this) | 10 minutes | 30–35 minutes | 45 minutes |
| 🍽️ Servings | 📋 Course | 🌍 Cuisine | 🔥 Calories |
|---|---|---|---|
| 4 | Snack / Appetizer | Mediterranean-inspired | ~180 kcal per serving |
Why This Recipe is Awesome
Let’s be real—most healthy snacks taste like cardboard wrapped in disappointment. These roasted chickpeas? Not the case. They’re gloriously crunchy, endlessly customizable, and take almost zero effort. You literally rinse, season, roast, and eat. That’s it. No fancy techniques, no culinary degree required.
They’re also ridiculously nutritious—high in protein, fiber, and a bunch of stuff that makes your body feel like it’s being treated well for once. They travel well, they store well, and they impress people who didn’t know a can of chickpeas could do all this. IMO, that makes them basically a superpower snack.
Oh, and did I mention they’re naturally gluten-free and vegan? So basically everyone at the party can eat them. You’re welcome.
Ingredients You’ll Need
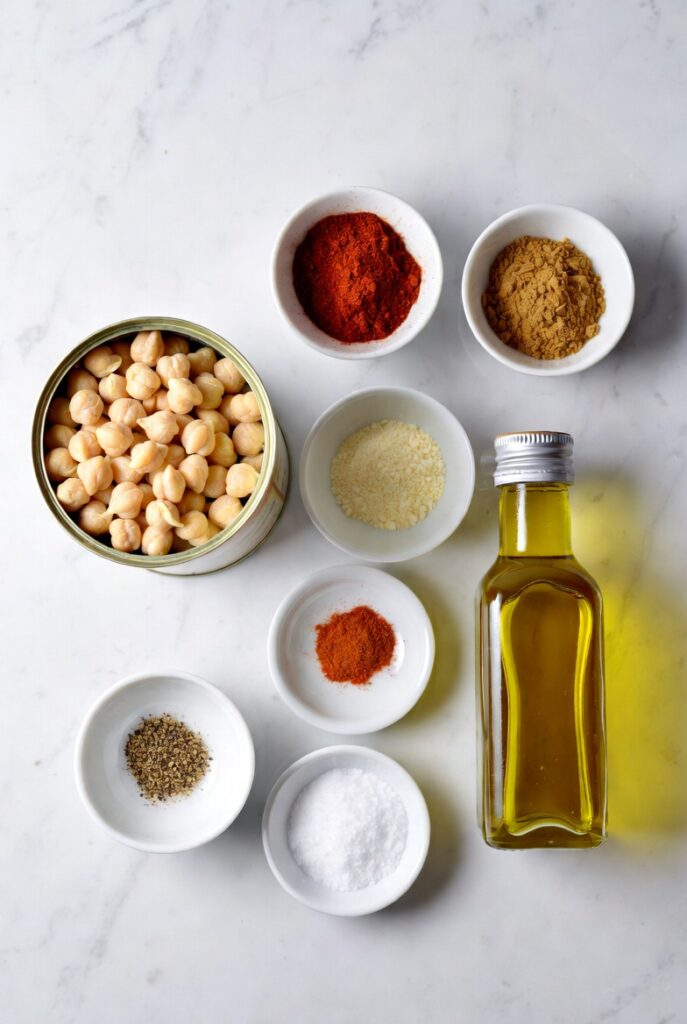
- 1 can (400g/15 oz) chickpeas — drained, rinsed, and dried like they just came out of the spa
- 2 tablespoons olive oil — the good stuff, please, not the mystery bottle from 2019
- 1 teaspoon smoked paprika — for that smoky, “I totally know what I’m doing” flavor
- ½ teaspoon garlic powder — because garlic makes everything better, full stop
- ½ teaspoon cumin — earthy, warm, slightly mysterious
- ¼ teaspoon cayenne pepper — optional, but cowards skip it (kidding… mostly)
- ½ teaspoon salt — yes, you need it
- ¼ teaspoon black pepper — the unsung hero of every recipe ever
Recommended Tools
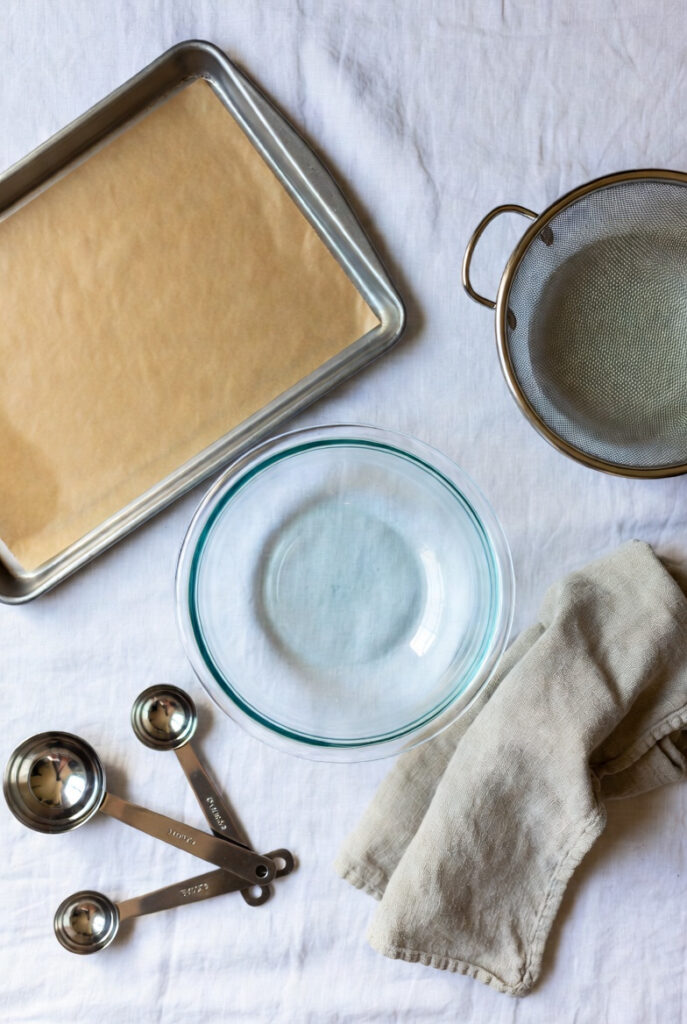
- Oven — non-negotiable, unless you’ve discovered a better way (you haven’t)
- Baking sheet — lined with parchment paper so cleanup doesn’t ruin your mood
- Kitchen towel or paper towels — for drying the chickpeas (this step matters more than you think)
- Mixing bowl — any size, you’re not building a cathedral
- Colander/strainer — for rinsing
- Measuring spoons — eyeballing works, but only if you’ve earned that confidence
Step-by-Step Instructions
- Preheat your oven to 200°C (400°F). Don’t skip this. Tossing chickpeas into a cold oven is the culinary equivalent of jumping into a cold pool—nothing good happens.
- Drain and rinse your chickpeas under cold water using a colander. Give them a good rinse, then spread them on a clean kitchen towel.
- Dry them thoroughly. This is the step people rush and then wonder why their chickpeas aren’t crispy. Pat them dry, roll them around a bit, and remove any loose skins that fall off.
- Toss in olive oil and spices. Add chickpeas to a mixing bowl, drizzle with olive oil, and sprinkle every spice on the list. Toss until each chickpea looks like it’s been properly dressed for the occasion.
- Spread on a baking sheet in a single layer. No piling, no stacking. They need space to crisp up, not steam each other into mush.
- Roast for 30–35 minutes, shaking the pan every 10 minutes or so. They’re done when they’re golden brown and crunchy all the way through. Let them cool for 5 minutes—they crisp up even more as they cool.
- Taste, adjust salt if needed, and try not to eat them all before they reach the bowl.
Nutrition Facts
Serving Size: ¼ of recipe (~60g) | Servings Per Recipe: 4
| Nutrient | Amount |
|---|---|
| Calories | 180 kcal |
| Total Fat | 8g |
| Saturated Fat | 1g |
| Sodium | 310mg |
| Total Carbohydrates | 21g |
| Dietary Fiber | 6g |
| Total Sugars | 3g |
| Protein | 7g |
| Iron | 2.4mg |
| Calcium | 50mg |
Based on standard nutritional data. Values may vary slightly with substitutions.
Recipe Variations
- Chili-Lime: Swap paprika and cumin for chili powder and a squeeze of fresh lime juice right after roasting. Zesty and addictive.
- Ranch-Style: Use dried dill, onion powder, garlic powder, and a pinch of dried parsley for a tangy, herby vibe that tastes like ranch dressing grew up.
- Cinnamon-Honey (Sweet version): Toss with a drizzle of honey, cinnamon, and a pinch of salt before roasting. Basically a healthy dessert, and nobody’s complaining.
Recommended Ways to Serve
- As a standalone snack straight from the bowl while watching something you’ve already seen four times.
- On top of salads in place of croutons—more protein, more crunch, more bragging rights.
- Alongside dips like hummus, tzatziki, or guacamole for a snack spread that looks like you actually planned ahead.
Storing and Reheating Guidelines
- Store at room temperature in an airtight container for up to 3–4 days. Avoid the fridge—moisture is the enemy of crunch.
- Re-crisp in the oven at 180°C (350°F) for 5–7 minutes if they’ve softened. Good as new.
- Don’t freeze them. Just… don’t. The texture becomes sad and soggy, and they deserve better than that.
Common Mistakes to Avoid & Fixes
| 😬 Mistake | ✅ The Fix |
|---|---|
| Not drying the chickpeas properly | Pat them bone-dry before seasoning — moisture = steaming, not roasting |
| Overcrowding the baking sheet | Single layer only! Give each chickpea its personal space |
| Skipping the mid-roast shake | Shake the pan every 10 minutes or risk unevenly roasted sad chickpeas |
| Pulling them out too early | They should feel firm and crunchy, not just golden — trust the full 30 minutes |
| Adding fresh herbs before roasting | Fresh herbs burn in the oven — add them after, like a sensible person |
| Not preheating the oven | Classic rookie move. The oven needs to be ready before the chickpeas arrive |
Alternatives & Substitutions
- No olive oil? Avocado oil or coconut oil work great. Vegetable oil is fine too — not glamorous, but it gets the job done.
- No smoked paprika? Regular paprika works, but smoked paprika adds a depth that regular paprika can only dream of. Worth buying.
- Want less heat? Skip the cayenne entirely. Nobody’s judging. (Okay, maybe a little.)
- No canned chickpeas? Dried chickpeas soaked overnight and cooked work perfectly — FYI, they often roast even crunchier.
- Salt substitute? Nutritional yeast adds a savory, cheesy flavor with less sodium — and it makes you feel very sophisticated.
FAQ
Q. Can I use dried chickpeas instead of canned? Ans: Absolutely. Soak them overnight, cook them until tender, then roast. They tend to get even crunchier than canned. Just plan ahead — this isn’t a spontaneous Thursday-night option.
Q. Why aren’t my chickpeas crispy? Ans: Either they weren’t dry enough before roasting, or they were crammed together on the pan. Both are crimes against crunch. Dry thoroughly, single layer, problem solved.
Q. Can I make these in an air fryer? Ans: Yes! Air fry at 200°C (390°F) for about 15–20 minutes, shaking halfway through. Faster, crispier, and honestly kind of magical.
Q. How long do they stay crunchy? Ans: About 3–4 days in an airtight container at room temperature. After that, they start softening — but a quick oven re-crisp saves them easily.
Q. Are these actually healthy? Ans: High protein, high fiber, plant-based, gluten-free — yeah, they’re pretty solid. Way better than the bag of chips you were actually considering.
Q. Can I add the seasoning after roasting instead of before? Ans: You can, but the spices won’t stick as well or meld into the chickpea the same way. Before roasting is the move. Trust the process.
Q. Can kids eat these? Ans: Totally — just skip the cayenne. Kids love crunchy things, and parents love snacks that contain actual protein. Everyone wins.
Final Thoughts
There you have it — roasted chickpea snacks that are crunchy, flavourful, and take less effort than finding something to watch on Netflix. You’ve turned a forgotten pantry staple into something genuinely delicious, and that deserves a small moment of appreciation. Next time someone says healthy food is boring, hand them a bowl of these and watch their opinion change in real time. Now go impress someone — or yourself — with your new culinary skills. You’ve absolutely earned it. 🎉